
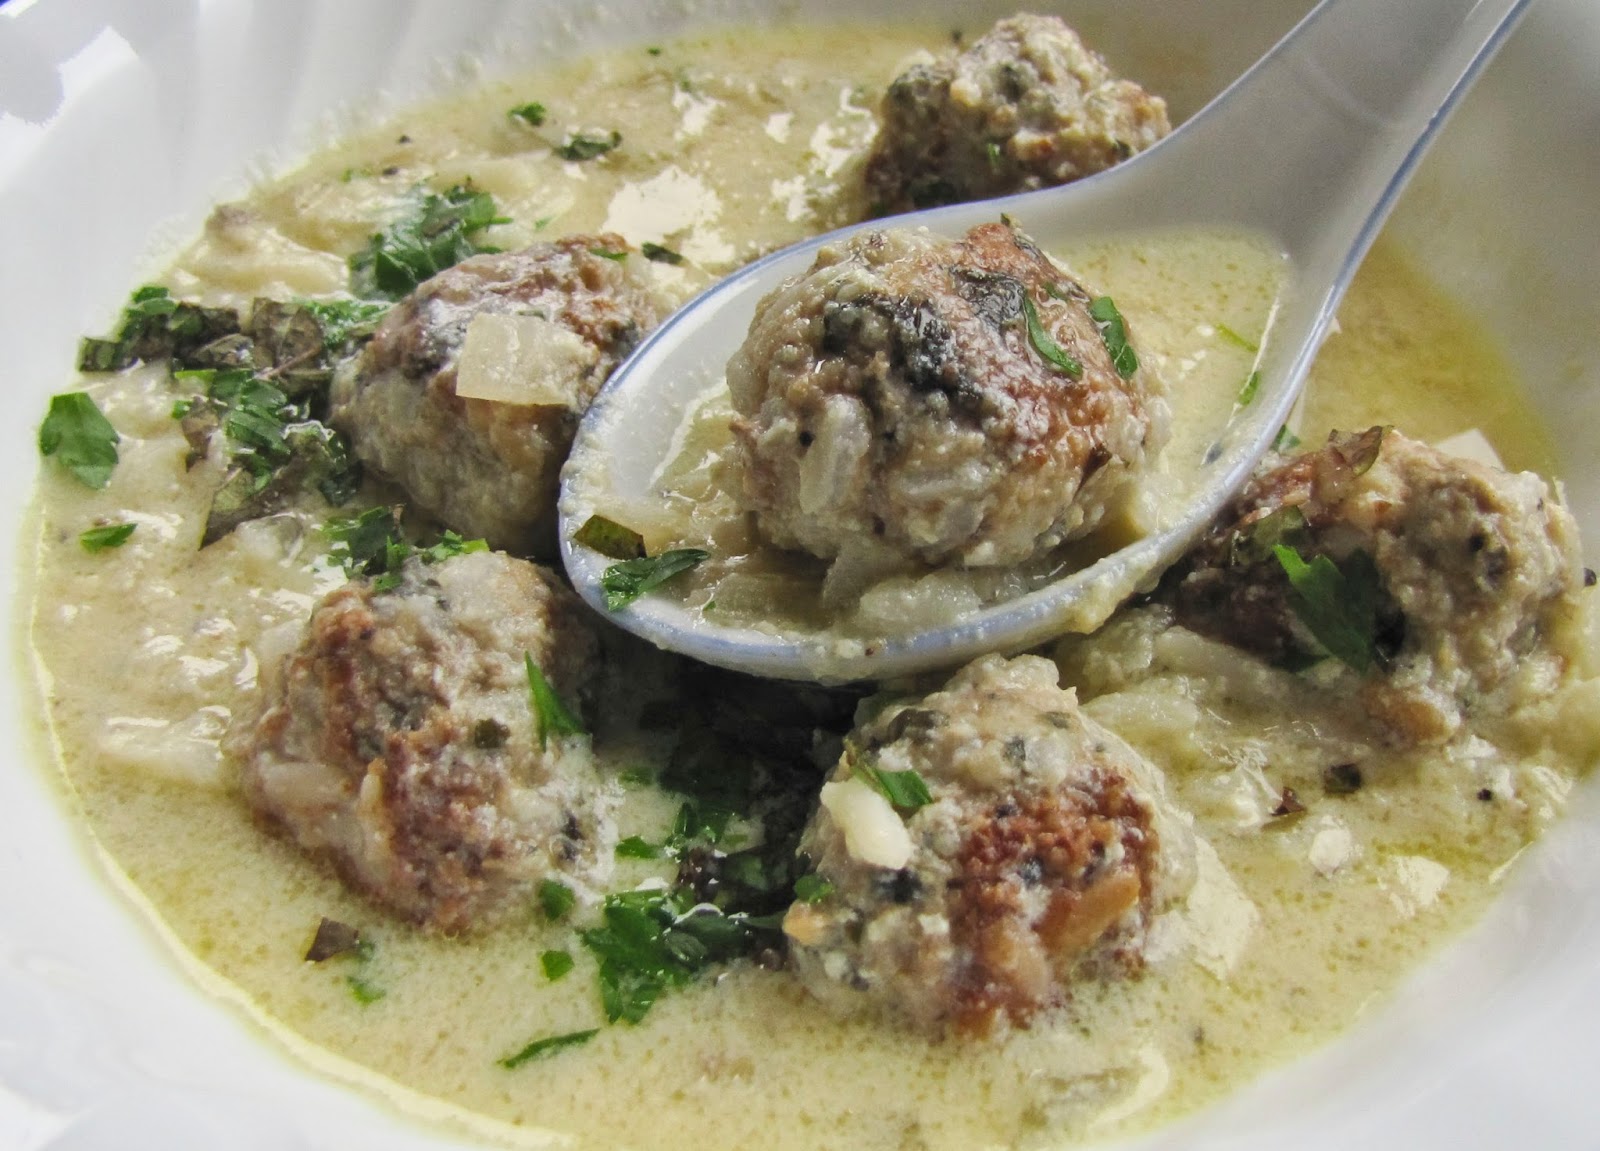
Chicken soup comforts both body and soul. So it is no surprise that many cultures around the world have their own version; unique with the varying preparations, ingredients and seasonings to account for the world of difference. In my kitchen you'll often find one of these chicken soup recipes simmering away on the stove:
 |
| Avgolemono - Greek Lemon Soup |
 |
| Green Posole with Chicken |
 |
| Coconut Green Curry Soup |
plus an Indian-style Chicken Coconut Curry Soup, and our all-time favorite Mexican Chicken Taco Soup (I can't believe I haven't posted a recipe for this one yet). This month's interest in ginger nudged me toward a Thai-style version of chicken soup with coconut milk. This chicken soup was fast, flavorful and carried enough of a "zip" from the Tom Yum sauce to keep RL smiling.
My fridge and freezer usually hold a few containers of cooked chicken, left after roasting a whole bird, pulled from a purchased deli chicken or after I precook a batch of chicken thighs. Chicken soups and chicken enchiladas benefit from this versatile ready-to-use ingredient.
What's your favorite use of already cooked chicken?
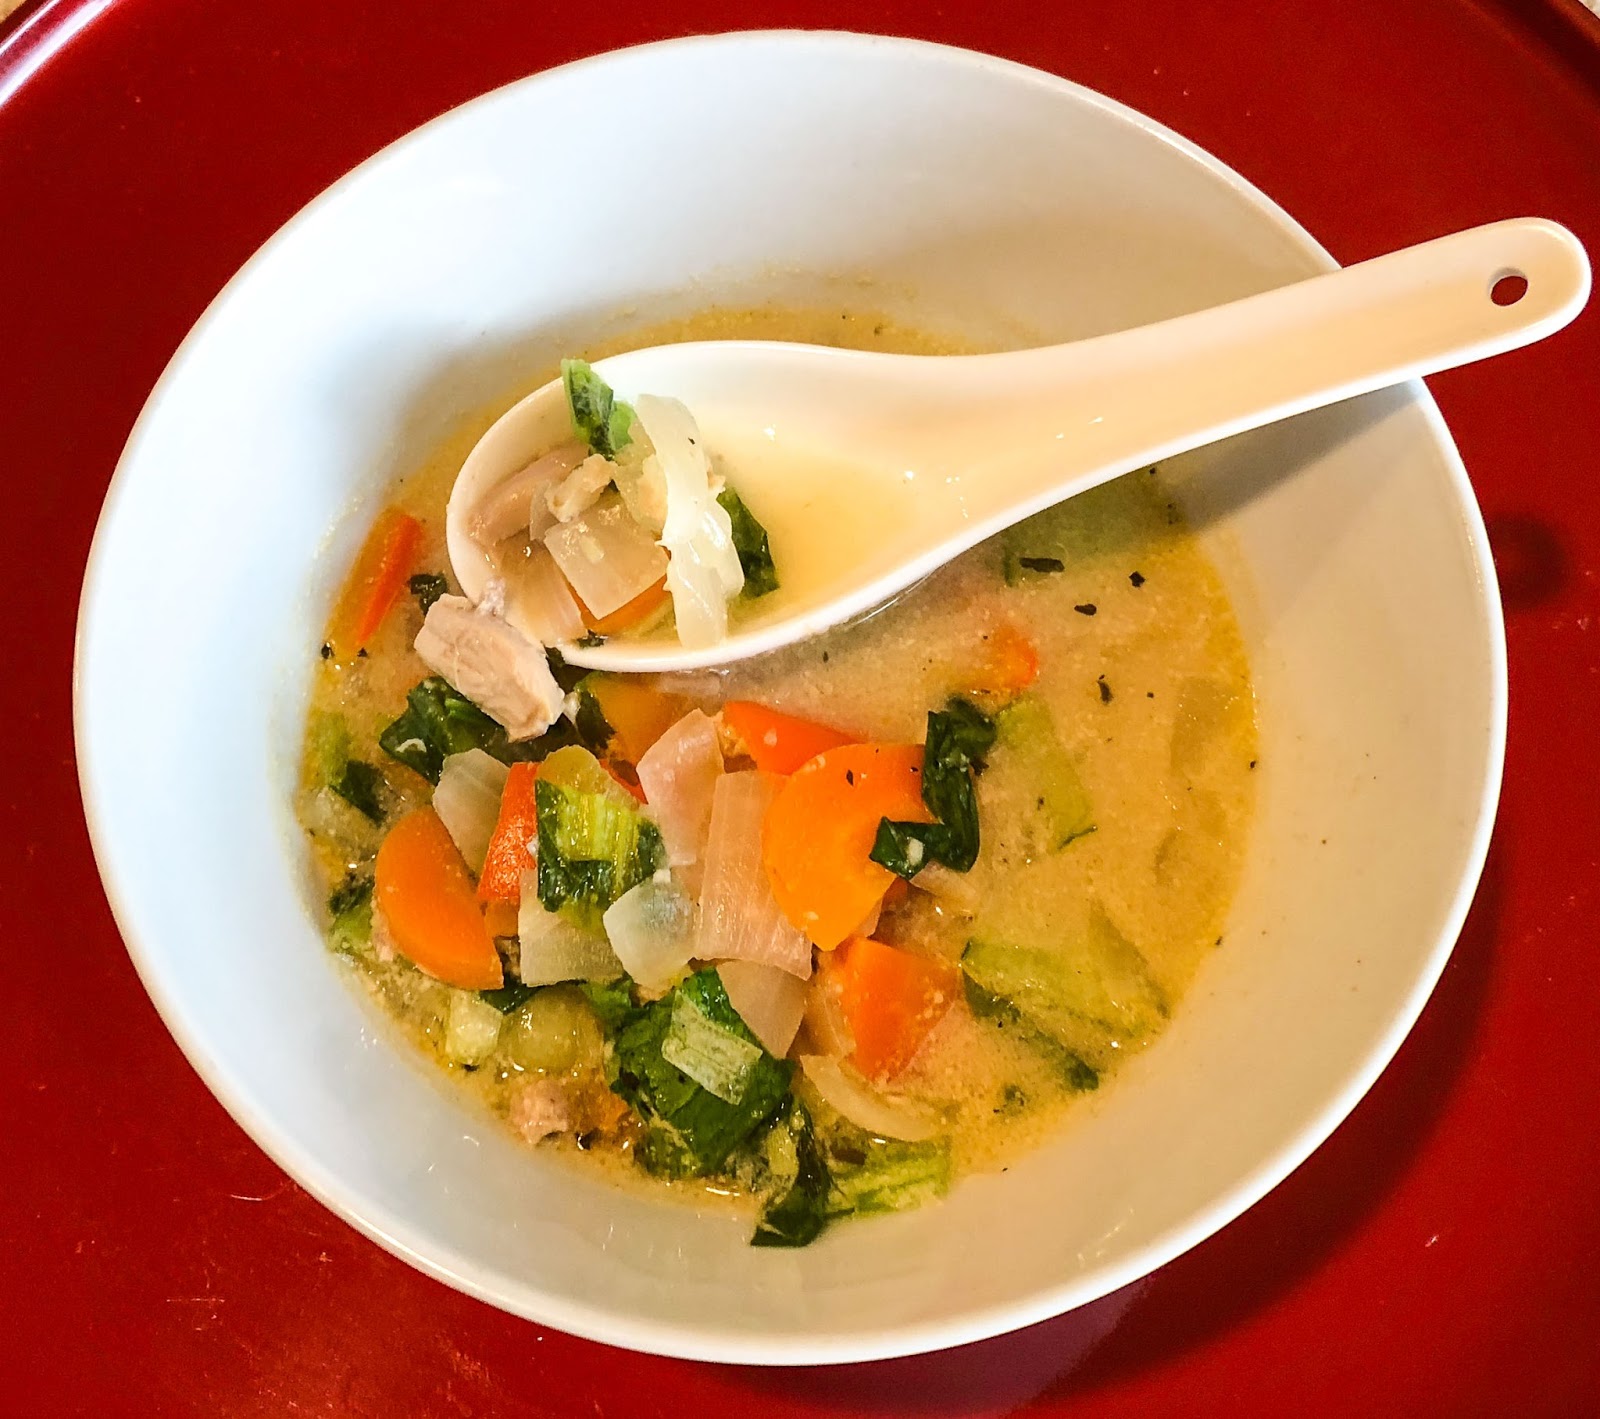
Thai-Style Chicken Soup
yields 4 servings2 fat cloves garlic, peeled & minced
2-inch piece ginger root, peeled & minced or shredded
2 TBS canola oil
1 TBS brown sugar
1 tsp Tom Yum sauce or a Thai curry paste (adjust for your level of spicy heat)
1 TBS Thai fish sauce
1 TBS Gourmet Garden Thai seasoning paste (or 1 tsp each dried cilantro & basil)
1 small onion, peeled & chopped
1 cup red pepper, cored & chopped
1 fat carrot, peeled & sliced thin into rounds
2 ribs celery, strings discarded and stalks chopped
2 cups cooked chicken, chopped
1 can (15-oz) low-sodium chicken broth
1 can (15-oz) coconut milk (NOT coconut cream!)
2 to 3 heads baby bok choy, cleaned & chopped
salt and pepper to taste
lime wedges for serving
Use a wide-bladed knife or bench scraper to mash the garlic and ginger together into a paste. Heat the canola oil in a medium, heavy-bottomed pot and saute the ginger-garlic mash for a minute or two until aromatic.
Stir in the brown sugar, Tom Yum sauce, fish sauce and Thai seasoning paste.
Add the chopped onions, red pepper, carrot & celery. Stir to coat and saute for another minute. Add the chicken and stir some more to coat.
Add the chicken broth and coconut milk and bring to a barely bubbling simmer. Taste and adjust seasonings as necessary. Add the baby bok choy and cook for a minute or two until just tender. Ladle into bowls and enjoy at once.
Notes:
1. Offer lime or lemon wedges to add a citrus pop to each bowl.
2. For hungry appetites, offer a small bowl of rice alongside. The solids are always finished first and the remaining soup liquid works well as a sauce for the rice.


