Tuesday, December 30, 2014

Laughing Planet Cafe for Lunch

Bend, Oregon

0500 alarm clock alert, 0600 banana/peach smoothie breakfast, 0630 departure and a whole lot of driving between Seattle, WA and Bend, OR before we finally thought about stopped for lunch. No problem, dining at Bend's Laughing Planet Cafe on NE 3rd Street was well worth the distance and our 7-hour stretch between meals. The restaurant came well recommended so we didn't have to waste any time deciding where to eat. As usual, my challenge would be deciding what to eat. 

The cafe's paper, take-home menu opens with the following:
"The Laughing Planet approach to food is simple and straightforward, and looks like this: get the food from the farm to your plate as quickly as possible and in the least complicated way. We believe in directly supporting a local economy, including the farmers from whom we source our high quality produce."  
Fresh - local - uncomplicated - what's not to like so far? I noticed the nearby diners kept smiling as they ate, concentrating on their colorful bowls and plates and keeping conversations to a minimum. My flavor expectations rose a notch or two higher.

Highlighted boxes on the same menu announced:
"Your pleasure is our motto! At Laughing Planet Cafe, if you don't like what you ordered, we'll remake it for you. If after the make-over you're still not satisfied, it's on us! That's the Laughing Planet iron-clad guarantee."
"Iron-clad guarantee: please do not pay for anything you don't like! Seriously!"
Make overs - on the house guarantee - okay, now I expected some seriously good eats. I was not disappointed. Three of us ordered different items,  sampled each dish, and each declared our individual menu choice a winner. We all won, lunch was delicious!

RL ordered the Korean BBQ bowl, a riotously colorful dish where the beef marinade and spicy sauce rock the taste buds... in a good way. I really want need the secret recipe for the beef marinade and BBQ sauce! Are you listening Laughing Planet?
Photo: Korean BBQ Bowl
Your choice of local braised 100% grass-fed beef or baked organic Surata tofu, broccoli, brown rice, cilantro-lime slaw, quick-pickled cucumbers, toasted sesame seeds, and spicy Korean BBQ sauce.
I chose the Thai Bowl, a beautiful mound of crisp-yet-tender neon-bright vegetables, savory baked tofu plus some added extra chicken, and an amazing peanut sauce - all of that over brown rice. It tasted as good as it looked and yes, I ate every bit of this piled-high delight.
Photo: Thai Bowl with tofu and chicken
Thai Bowl: Baked organic Surata tofu, garlic green beans, steamed broccoli on brown rice, topped with a cilantro lime slaw and served with Thai Lemongrass Peanut sauce.
Local resident Donna recommended Laughing Planet and was familiar with the menu. Already a fan of the various bowls and quesadillas, this time she headed to the burrito side of the menu. The vegetarian and omnivore sections offer interesting combinations of ingredients and seasonings, but Donna zeroed in immediately on the mole-sauced chicken and bean combo in the Holy Mole. Flavorful and filling, this burrito could be a whole-meal-in-a-wrapper favorite. 
Photo: Holy Mole burrito
Smart pinto beans, grilled Draper Valley natural chicken, Tillamook jack cheese, brown rice, pico de gallo and homemade Mole sauce.
Laughing Planet's staff was enthusiastic, friendly and knowledgeable; I especially appreciated the helpful food and beverage ordering suggestions. The recommended local micro brew (dark porter) and a hard cider paired well with our menu choices. The room was light and bright, the seating comfortable, the service fast and the decor.. interesting. Several small dinosaurs lurked here and there. There must be an interesting story behind the colorful assortment of reptiles.

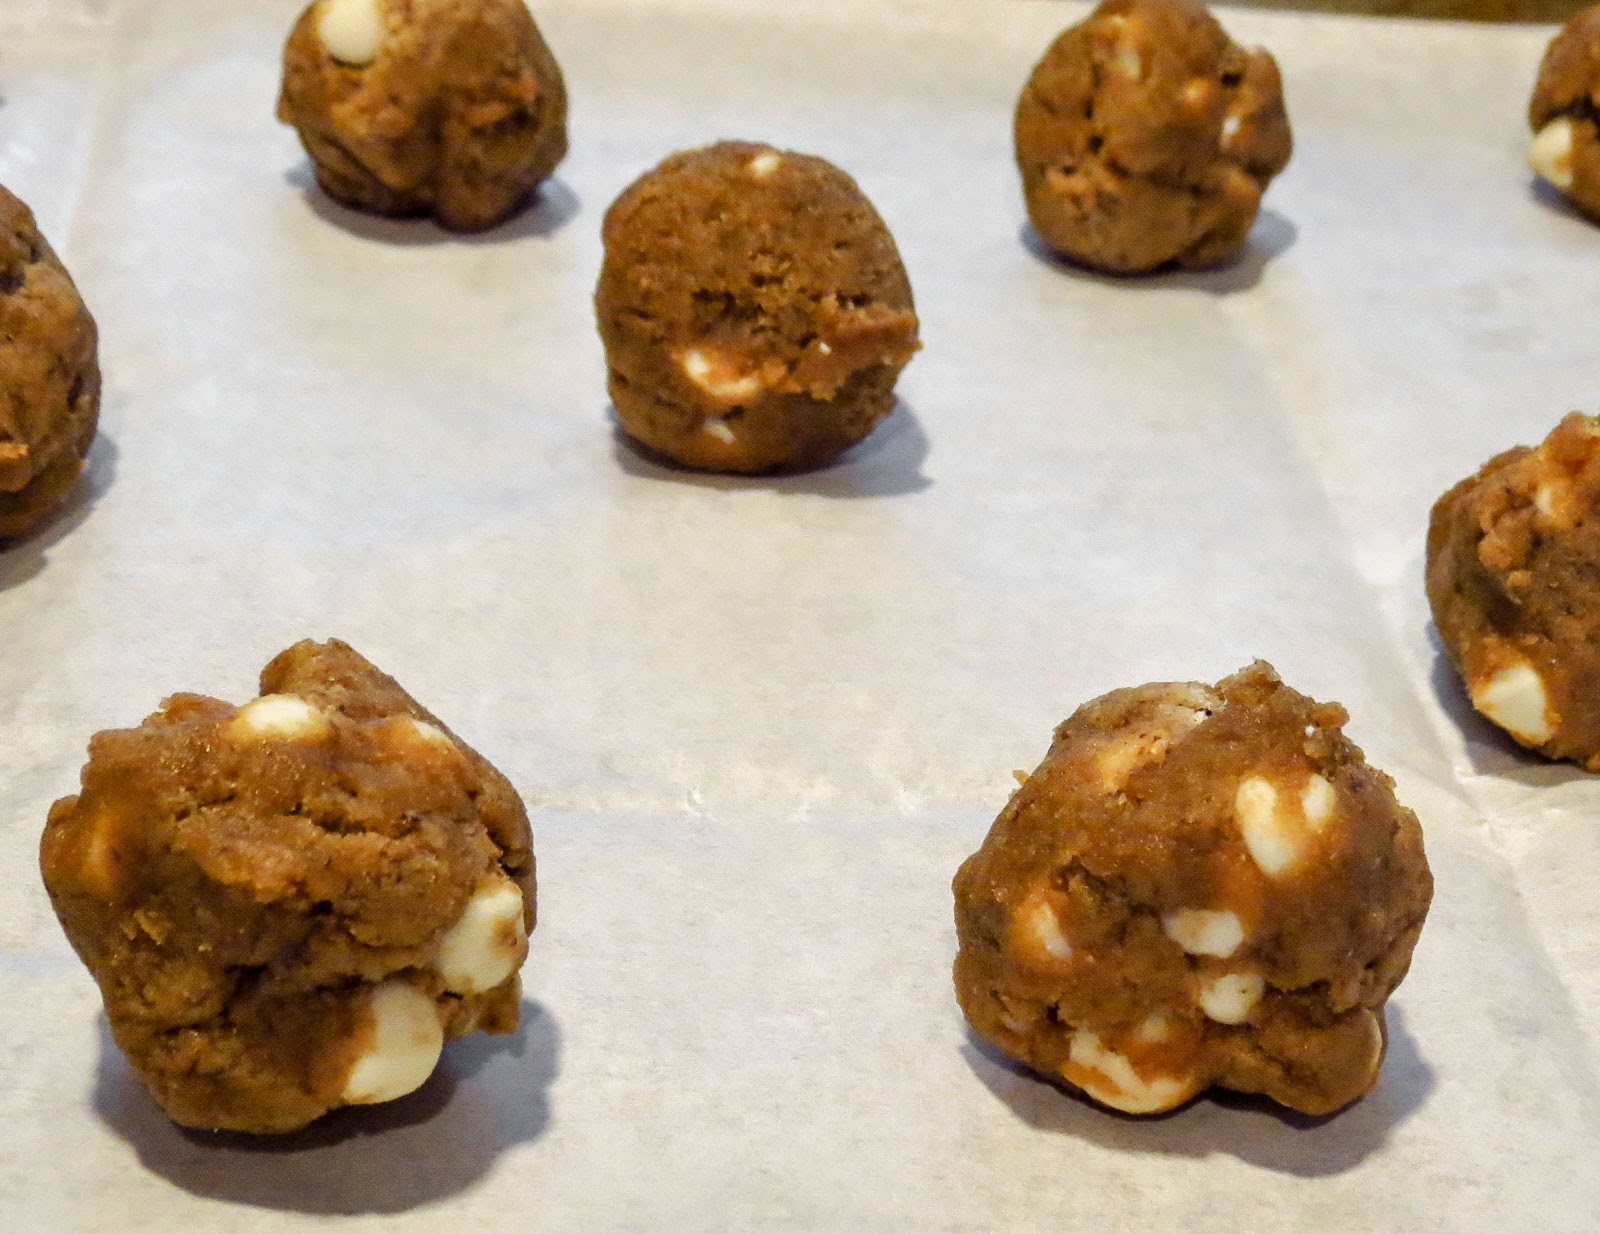
On a return trip to Bend the menu's soups, salads, smoothies, homemade cookies and a handful of breakfasty items might tempt me, but today's choices couldn't have suited us any better. Laughing Planet has 9 cafes in Portland, 2 in Eugene, 1 in Corvallis, 1 in Bend and 1 in Reno. Reno? So when is LPC coming to Seattle?! I'm waiting.


Sunday, December 28, 2014

Cranberry White Chocolate Cookies

a Cookies in a Jar version


It's been said that good things come in threes, and that was the case with this year's Christmas Cookies. All three recipes were a hit, but this cookie was the best of the threesome... in my opinion. Softly puffy yet chewy, semi-sweet and fruity, the first sample of these two-bite treats prompted tasters to immediately reach for another cookie. That first batch disappeared very quickly. I found the recipe online, just clicking around food blog links, when I landed on My Baking Addiction. Jamie's photos and this delicious-sounding cookie recipe caught my attention. Finding directions for layering the dry ingredients in a quart mason jar for presentation was a bonus feature. Cookies - in a jar - this could work for so many different cookie recipes!


Photo: ingredients for Espresso & White Chocolate Cookies


Photo: Cookies-in-a-Jar Gift Basket 
Brain flash! package the ingredients for my 2014 Christmas Cookie in jars: attach the recipes, add a few baking implements and build a gift basket. Easy peasy. This was a fun project and we certainly enjoyed taste-testing a batch of each cookie. Now I'm waiting to hear how the gift basket baking turns out. 


Cranberry White Chocolate Cookies 
Cookies in a Jar
with thanks & credit to Jamie at My Baking Addiction 

Yield: 2 dozen cookies
Ingredients

1/2 cup unsalted butter, softened & cut in chunks
1 large egg, at room temperature
1/2 teaspoon vanilla extract
1/2 teaspoon almond extract

1 1/4 cup AP flour, divided
1/2 teaspoon baking soda
1/2 teaspoon salt
1/3 cup light brown sugar, packed to measure
1/3 cup granulated white sugar
1/2 cup plump dried cranberries
1/2 cup white chocolate chips
1/2 cup chopped pecans

Note: To package in a 1-quart jar, arrange in layers as follows.

Layer One:
       1/2 cup all-purpose flour, plus 1 tablespoon
Layer Two:
       1/2 cup rolled oats
Layer Three:
       1/2 cup all-purpose flour, plus 1 tablespoon
       1/2 teaspoon baking soda
       1/2 teaspoon salt
Layer Four:
       1/3 cup light brown sugar, packed
Layer Five:
       1/3 cup granulated sugar
Layer Six:
       1/2 cup dried cranberries, or raisins
Layer Seven:
       1/2 cup white chocolate chips, or dark chocolate chips
Layer Eight:
       1/2 cup chopped pecans, or walnuts

Directions
  1. Preheat oven to 350°F. Line a baking sheet with parchment paper or use silicone baking mats.
  2. In a medium bowl with an electric mixer, combine 1/2 cup softened, unsalted butter, 1 large egg and 1 teaspoon pure vanilla extract until fully incorporated. Add the entire jar of ingredients to the butter mixture. Using a wooden spoon, mix all ingredients until fully incorporated. This may take a little effort, but it will come together. Use a medium cookie scoop (about 1 and a half tablespoons) to measure and drop dough onto the prepared baking sheets.
  3. Bake in preheated oven for 8 to 10 minutes. Cool on baking sheets for about 5 minutes before removing to a wire rack to cool completely.

Monday, December 22, 2014

Walnut Snowball Cookies


...aka Snowballs, Mexican Wedding Cookies, Russian Tea  Cookies, Greek Walnut Sugar Cookies, Almond Crescents... and the list goes on. Whatever you call them, these ground nut cookies are absolutely melt-in-your-mouth delicious. Once I tiptoed into cookie-baking mode this week, these powdered sugar treats joined the must-bake list.

My Austrian Mom favored a traditional almond recipe for her German Almond Crescents. Not just for Christmas, these were anytime favorites in our family. Handfuls of these cookies would disappear almost as fast as they emerged from their powdered sugar bath. Today I veered away from decades of family cookie baking tradition, intrigued by a recipe recently posted online by joythebaker 

Joy's recipe for Butter Walnut Cookies called for more nuts than flour, brown sugar instead of granulated white, and added cornstarch to the dough. Small adjustments can make major changes when you're baking, so I optimistically set off to experiment and add an adjustment or two of my own. Joy described her buttery walnut bites as "Tender, crumbly, two-bites, powdered sugar clouds." Mmmmm, that sounded like perfect, fluffy, two-bite snowballs to me.  

Success! I should have baked another batch or two, because you really can't eat just one snowball. Pop several of these sweet little cookies into your mouth, and you'll find yourself reaching for more, lots more. It is easy to track any stealth cookie tasters by following the powdered sugar trails left behind on various countertops, place mats and shirt fronts. Or I could just check the satisfied smiles around the kitchen.    


Snowball Cookies
inspired by a recipe at joythebaker

Yields about 2 dozen cookies

Ingredients:
       1 cup all-purpose flour
       1 tablespoon cornstarch
       1/4 teaspoon salt
       1/4 teaspoon baking powder
       3 tablespoons light brown sugar, firmly packed
       1 1/2 cups ground or finely chopped walnuts
       1/2 cup (1 stick) unsalted butter, softened
       1 scant teaspoon vanilla extract
       a generous splash of almond extract
       1 1/2 cups powdered sugar, for rolling cookies after baking

Directions:
1.   Place an oven rack in the upper middle position; preheat oven to 325 degrees F. Line a baking sheet with a silicone mat or parchment paper and set aside. Place powdered sugar in a medium bowl and set aside.
2.   Use a medium bowl and stir together the dry ingredients: flour, cornstarch, salt, baking powder and finely chopped walnuts.
3.   In a separate bowl use a mixer and cream together the butter and brown sugar. Stir in the vanilla extract. 
4.   Add the dry ingredient mixture and use a large wooden spoon to work into the creamed sugar and butter. Mix the dough until it's a fairly loose, coarse meal with lots of nutty bits.
5.   Roll heaping tablespoons of dough between the palms of your hands and form walnut-sized balls. Place an inch apart on the prepared baking sheet, the cookies will only spread a little.
6.   Bake for 25 minutes, turning the baking sheet front to back halfway through the baking time. Bake until the bottoms barely begin to brown, appear dry on the outside and feel fairly firm to the touch.
7.   Remove from the oven and allow to cool slightly and set up a bit for 2 to 3 minutes before placing in the bowl of powdered sugar. While still warm, roll gently in powdered sugar to generously coat on all surfaces. Place on wire baking rack to cool completely. Roll again in powdered sugar (optional, but why not add a little more fluffy snow to a snowball?)
8.   Store in an airtight container at room temperature for up to five days.

Saturday, December 20, 2014

Espresso and White Chocolate Drop Cookies


Weeks ago I declared there would be no Christmas baking in 2014, none, nada, zero, zip... this would be the year to simplify holiday preparations. Well, that resolution lasted midway through the month and then poof! disappeared in a weekend burst of baking activity. Can I blame it on the internet, brimming with food blogs, foodie Facebook pages and Pinterest boards that feature holiday cakes and cookies? Forget the blame, I'm busy baking.  


The baking began with these ordinary-looking  and flavor-packed drop cookies. Sweet, but not too sweet, they resemble flattened chocolate chip cookies but carry a noticeable caffeine back note. A Google search produced a gazillion variations of cookie recipes featuring coffee and white chocolate; rolled flat and shaped with cookie cutters, rolled into cylinders and sliced like a refrigerator cookie, crispy twice-baked biscotti, soft and gooey like fudge or brownies, frosted or plain... Omigosh, so many choices! I went with this recipe from joythebaker. That girl can bake!

Not fancy enough for holiday cookies? Whatever these Espresso White Chocolate Drop Cookies might lack in fancy frosting and exotic ingredients, they make up for in satisfying flavor. Even the raw dough smells temptingly good... just saying. Thanks Joy, we'll enjoy this recipe year 'round.  
     

Espresso White Chocolate Drop Cookies
Yield: 3+ dozen cookies

1 cup (2 sticks) unsalted butter, softened
3/4 cup light brown sugar
3/4 cup granulated sugar
1 large egg plus 1 large egg yolk
2 teaspoons pure vanilla extract
2 1/4 cup all-purpose flour
1 teaspoon baking soda
1 scant teaspoon salt
3 tablespoons instant espresso
1 cup white chocolate chips

Directions:
Position the racks in the center and upper third of the oven. Line two or three baking sheets with silicone mats or parchment paper. Set aside; you'll preheat the oven after chilling the dough.

Use a medium bowl and whisk together the dry ingredients: flour, baking soda, salt and instant espresso powder.

Use a stand mixer and beat together the butter and sugars until light and fluffy, about 3 to 5 min. Stop the mixer; use a rubber spatula to scrape down the bowl. 


Add the egg and egg yolk; beat on medium speed until incorporated and fluffy, about 1 to 2 min. Add the vanilla extract and beat briefly to mix in. 

Stop the mixer; add all of the dry ingredients to the butter mixture and mix on low speed until just barely combined. 


Stop the mixer again and add the chocolate chips; fold together with a wooden spoon or spatula until well combined. Cover the dough with plastic wrap and refrigerate for an hour.

Preheat the oven to 350 degrees F. Scoop heaping tablespoonfuls of dough onto the prepared baking pans, spaced several inches apart to allow room to spread. 


Bake for 10 to12 minutes, until lightly browned around the edges. (My dough was darker than joys, making it hard to see any browning.) Remove from the oven and cool undisturbed on the baking sheets for about 10 minutes. When the cookies have firmed up, remove to a wire rack to cool completely. Store the cookies in an airtight container. where they will last several days... if they last that long. Betcha you can't eat just one!


Tuesday, December 16, 2014

Ladies Who Lunch, and Brunch, and Occasionally Visit Starbucks


And since you are going to ask, yes, that would be me this past week now that I am fully off the crutches. Omigosh, I have reveled in the opportunity to be out and about, to engage with friends and family, and to enjoy someone else's cooking. 

Snoqualmie Falls & Lodge
Sunday Brunch at Salish Lodge led off the recent series of dining excursions. The weather cooperated and the setting was breathtaking, a mere hundred+ yards from the top of Snoqualmie Falls, the 268-foot waterfall, that is one of Washington State's most popular scenic attractions. Built in 1919 the original Snoqualmie Falls Lodge was famous for its view, hospitality and hearty breakfasts. My first visit to the old lodge was many decades ago during my freshman year at the Univ. of Washington. I remember a steaming bowl of tasty oats, fluffy pancakes, fresh biscuits and the waitress drizzling honey onto our plates from an impossible height. 


Biscuits & honey
The property changed ownership, major renovation and remodeling followed, and the new Salish Lodge & Spa opened in 1988. The dining room and country breakfasts are still renowned. Laci and Slone spent the early morning on a snowy roundtrip hike to Snow Lake, and met us at the lodge for a 10:30am brunch. 
Photo: My brunch companions at Salish Lodge
Seated near the crackling fireplace we poured over the tempting menu, sipped mugs of well-brewed coffee and caught up on recent happenings. The tabletop soon filled with 1 order of Oatmeal plus a side of eggs, 1 Eggs Benedict over Ham, another Eggs Benedict with Vegetables, and my Smoked Salmon Hash Skillet, plus plates of biscuits... with honey still drizzled from on high. I wouldn't bother with the salmon hash skillet again, but the Oatmeal and the Eggs Benedict rated high marks from the other diners.

During a subsequent weekday lunch at the Columbia City Ale House the Soup Du Jour sounded so tempting that I veered from my usual order of the Red Reuben Sandwich or Fish Tacos. A steaming cup of Hearty Beef with Barley Soup paired with a small Honey Apple Mixed Green Salad was the perfect combo for a cool, gray December day. Good choice! 


Photo: Soup & Salad Combo at Columbia City Ale House
RL ate every bite of his Southwest Flat Iron Steak Sandwich, so the ancho chili rub, chipotle mayo, melted Jack cheese and fresh Pico de Gallo salsa must have been a hit... but I didn't notice or take any photos. I was too busy enjoying every drop of that colorful cup of richly flavored soup.    


Photo: Entrance to Starbucks Reserve Roastery & Tasting Room in Seattle
Another day, another adventure! The newly opened Starbucks Roastery & Tasting Room in Seattle is Howard Schultz's latest shrine to coffee, most striking (to me) for the visual experience inside this incredible location. Copper pipes, pneumatic tubes, little coffee bean lifts and giant vats... everywhere we looked intriguing equipment sparkled under Disneyland lighting. 


Photo: Ladies Who Do Lunch & Occasionally Visit Starbucks
Hilary, Chelsea, Laci and I wandered wide-eyed through the multi-level, Willy Wonka-style, warehouse-size space. We were intrigued with the overall design, the unique equipment, the entire coffee-production process, and impressed for the most part with the helpful staff. The actual ordering of a cup of coffee needs some fine tuning... order where? which line? not here? 45 minutes and still waiting, really?


Photo: Inside Starbucks Reserve Roastery in Seattle
A new Tom Douglas Serious Pie restaurant fills a small corner of the building, and that destination was the highlight of my day. Our starter plate of creamy burrata, charred Brussels sprouts, thinly sliced Fuji apples with a drizzle of pine bud syrup was absolutely swoon worthy - no exaggeration. Four of us shared two pizzas, wildly different in flavorful toppings but equally desirable atop thin and crisp, lightly charred, delicious crusts. Generous portions of Penn Cove clams, house-cured pancetta and lemon thyme topped the first pie - ok, this was my favorite and I devoured two pieces, but you do have to love clams. 


Photo: Penn Cove Clam Pizza at Serious Pie
Photo: Sweet Fennel Sausage Pizza at Serious Pie
The second pie held sweet fennel sausage, roasted red peppers and provolone cheese - not surprisingly it disappeared first (not everyone is wild about clams). I am totally ready to return here, or to any  other Serious Pie location, and nibble my way down the rest of the tempting menu offerings. Maybe a Happy Hour sip and graze with friends. As for coffee, I'll still brew it at home, though the foam won't be as pretty.

Wednesday, December 10, 2014

Lamb Kofta with Yogurt Sauce


Call it kebab, kabob, kofta, brochette or satay, "food on a stick is just plain fun." I read that somewhere, probably online, and can't help but agree. Today's lamb kofta on a roll might have would have tasted the same if prepared as a flat lamb slider on a burger bun, but the skewer and grilling approach added an indescribable special something to the end result. 

The succulent, tender lamb available today is a much improved product over the disagreeable, strong-tasting, tough-chewing meat (mutton?) of my childhood memories. Now I love sizzling lamb chops, herb-crusted rack of lamb, butterflied and grilled leg of lamb, well-seasoned lamb burgers... and spicy lamb kabobs. 

I don't spend too many moments thinking about the U.S. meat industry in general, but did page through the American Lamb Council's website. Here are a few fast facts about our American lamb:

  • There are over 82,000 sheep operations in the U.S. and a majority are family owned.
  • The top 5 sheep producing states are Texas, California, Colorado, Wyoming and South Dakota, though sheep are produced in nearly every state.
  • 80% of U.S. sheep are raised for meat, with wool being a byproduct.
  • A 3-oz serving of lamb has only 175 calories, meeting the FDA's definition for lean meat.
  • In addition to protein, lamb is an excellent source of vitamin B12, niacin, zinc, selenium, iron and riboflavin. 

Interesting factoids, and it surprised me to think of lamb as a lean meat, but really it's all about flavor.  Today's lightly-spiced lamb kofta were delicious... food on a stick that was just plain fun. 


Lamb Kofta
Yields 8 kofta or 4 skewers

1 pound ground lamb
2 heaping tablespoons fresh mint, minced
2 heaping tablespoons Italian parsley, minced
2 teaspoons garlic paste
3 tablespoons grated onion
1 tablespoon pimenton (smoky Spanish paprika)
1 scant teaspoon ground chili pepper (ancho or cayenne)
1 tablespoon ground cumin
2 tablespoons za’atar (or sumac plus thyme)
1 tablespoon capers, drained & rinsed
Kosher salt & freshly ground pepper

Yogurt sauce (recipe below)
  1. You will need a grill or cast iron grill pan and 4 long metal skewers.
  2. Mix the ingredients thoroughly by hand. Divide into 8 equal portions. With damp hands shape each portion of meat into a smallish cylinder. Slide two meat rolls onto a metal skewer, not touching but separated from each other, and set aside; repeat with remaining meat and skewers.
  3. Heat a ridged, cast iron grill pan over medium heat. Brush the pan lightly with olive oil.
  4. Grill the skewered meat, turning frequently, until a golden brown crust develops and the meat is still slightly pink but cooked nearly through. Careful, don’t overcook the lamb!
  5. Remove the kofte from the skewers and serve with warmed flatbread, pita or buns. Offer bowls of shredded greens and herbs, plus yogurt sauce on the side.


Yogurt Sauce:
2 cups plain Greek yogurt
1 teaspoon garlic paste
1 tablespoon fresh mint, minced
1 tablespoon Italian parsley, minced
1 teaspoon lemon juice
grated lemon zest
2 green onions, finely sliced
Pinch of salt

Stir all of the sauce ingredients together, mixing thoroughly. Refrigerate for an hour before serving.


Related Posts Plugin for WordPress, Blogger...